
For about a year, my knees decided how far I walked. The paved loop around the lake near our house in Bloomington is a little over three miles, and I had gotten to where I turned around at the second bridge, which is roughly a mile and a half. My doctor calls it mild to moderate osteoarthritis in both knees, the right worse than the left. I did not want a cure. I wanted my morning back. TrailBuddy Trekking Poles are the first thing that gave it to me, and they are also the first thing I used wrong for two solid weeks.
Here is what I got wrong. I set the poles to whatever looked right in the hallway, which meant too long, and then walked with my arms up like I was carrying a tray. By the bench my shoulders ached and my wrists were sore, so I decided poles were not for me. The physical therapist I saw for eight weeks watched me cross the parking lot and had me lower both of them about two inches. Same poles, same knees, different walk. What follows is that correction, written out, for anyone who bought a pair and suspects they are walking with them at the wrong height.
Set Them Once, Then Stop Thinking About Them
Two 7075 aluminum poles, 9.7 ounces each, adjusting from 24.5 inches collapsed to 54 inches at full height with one-hand lever locks. Carry bag, mud baskets and snow baskets included, backed by a 5 year limited warranty.
Amazon Check Today's Price on Amazon →Step 1: Set the Height Before You Leave the House
Do this standing on a hard floor, not carpet, and not in a hurry. Put the tip of one pole on the floor and hold the grip with your arm hanging relaxed at your side. Your elbow should be bent at roughly a right angle, and the top of the grip should land at the crease of your wrist. That is the whole measurement. If the grip sits higher than the crease, the pole is too long and you will walk with your shoulder up around your ear. If it sits lower, you will stoop to reach it, which is its own kind of tired by the end of a mile.
There is a shortcut if you would rather not think about your wrist. Take your height in inches and multiply by 0.68. I am five foot five, which is 65 inches, and that comes out to about 44 inches. The TrailBuddy poles run from 24.5 inches fully collapsed up to 54 inches at the top, so 44 sits comfortably in the middle with room to go shorter when I need to. Set one pole, stand both of them side by side on the floor, and match the second to the first. Then write the number down somewhere you will actually look.
Your shoes change the number more than you would expect. I set mine in flat walking shoes and left them there. The first cold morning I wore a pair of boots with a thicker heel, which raised me up and made the poles effectively short, and my shoulders told me within half a mile. If you switch shoes for winter, take thirty seconds and reset both poles. It is the simplest adjustment on this list and the one I forget most often.
Step 2: Learn How the Lever Locks Actually Work
The TrailBuddy poles use lever locks, which means you flip a small lever open with your thumb, slide the section to the height you want, and press the lever closed. It is a one-hand job, and that matters more than it sounds like it does when you are standing in a parking lot in January with gloves on and the wind coming off the water. Twist locks need both hands, one to hold each section, and you are always guessing whether you got it tight enough.
If a lever closes so easily that the pole still slides under weight, open it and turn the small tension screw a quarter turn, then close it again. If you have to fight it shut, back the screw off. You want it to snap closed with the heel of your hand. Then test it properly. Put both tips on the floor, hold both grips, and lean your weight on them the way you would getting up out of a chair. A pole that slips when you load it is worse than no pole at all, because you stop trusting it, then you stop leaning on it, and then it is just something you are carrying for three miles.
Check the locks once a month, and again after the first hard cold snap. Metal and plastic shrink and settle, and a lock that was perfect in October can be a little loose by December. It takes a minute at the hall closet door and it is the difference between a tool and a decoration.
Step 3: Fit the Straps So Your Hands Do Less
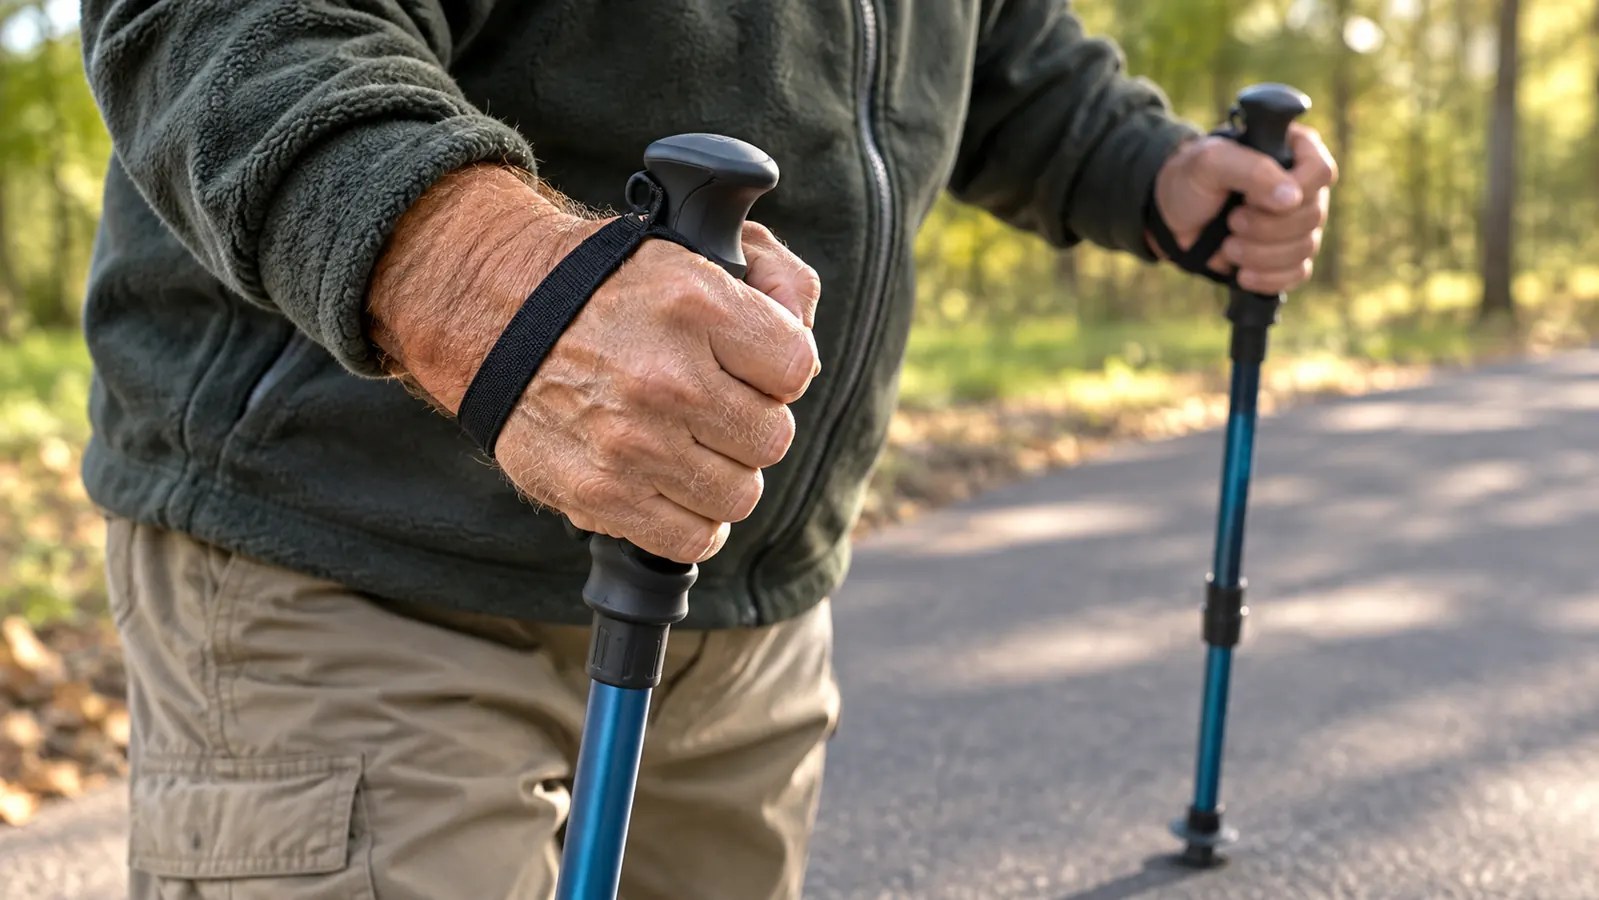
Come up through the loop from underneath so the strap hangs down the outside of your hand, then pinch the strap against the grip and hold both at once. The strap should run across the base of your palm. Not around your wrist, and not so loose that it swings. If you have it right, you can open your fingers on a flat stretch and the pole will hang there against your hand without falling.
This is the part most people skip, and it is the reason forearms ache by mile one. A loose strap means your hand has to grip the pole on every single push. A fitted strap means the push travels through the strap into your arm and your hand mostly steers. The padded straps on the TrailBuddy poles are a small thing that stops being small somewhere around the forty minute mark. Fit them once with bare hands, then check them again the first cold morning you wear gloves, because gloves change the fit more than you think.
Two inches of pole height was the difference between turning around at the second bridge and finishing the loop.
Step 4: Match the Baskets to the Ground You Walk On
The poles come with a set of mud baskets and a set of snow baskets, and the tips are threaded so the baskets stay attached when you are pushing through soft ground instead of popping off in the mud. On the paved lake trail the baskets do almost nothing. They earn their keep on the grass shoulder where I step off to let a runner by, and on the loose gravel at the edge of the parking lot where the pavement gives way.
Winter is where the snow baskets matter. Even though most of my cold weather walking happens at the mall or on the treadmill in the basement, there are clear sidewalk days in January, and a pole without a snow basket disappears six inches into a drift and comes back up with a snowball on the end of it. Swap back in the spring. Check the tips every few weeks for wear, the same way you would check the soles of your shoes, because a worn tip slips and a slipping tip is the whole reason you stopped trusting the thing.
Keep the carry bag, too. Mine stay collapsed in it in the hall closet, which sounds like a small detail until you have spent a winter stepping around two poles leaning in the corner by the back door. A pair that lives in a bag comes out for a walk. A pair that lives in a corner becomes furniture.
Step 5: Walk With Them, Then Shorten for the Downhill
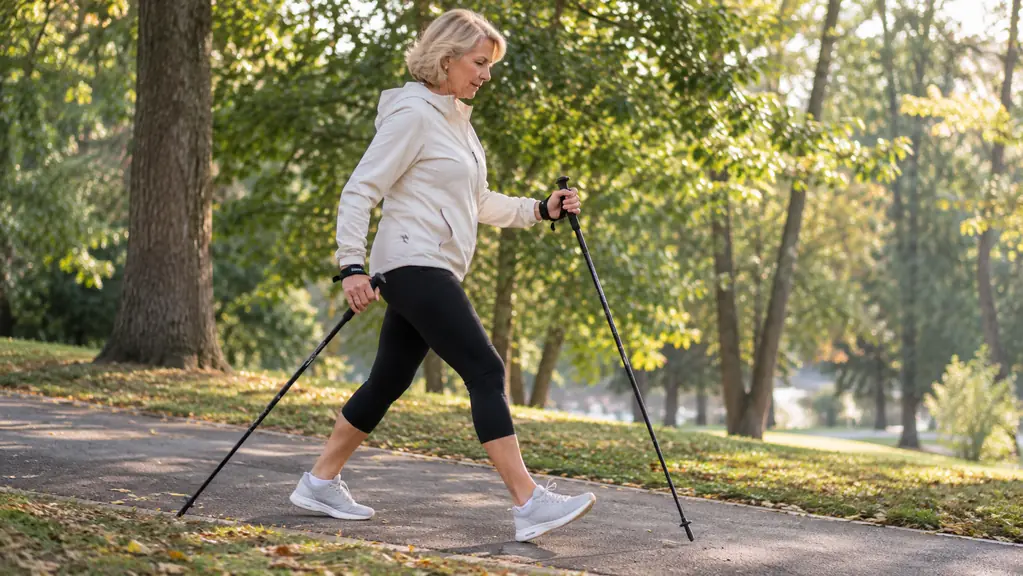
Plant the pole opposite the foot that is landing. Right foot forward, left pole forward. Plant it ahead of your hip rather than beside your heel, so the pole is already taking weight as you roll over the front of your foot. Your arm swings with the pole the same way it would swing empty. The first three walks will feel like patting your head and rubbing your stomach at the same time, and you will get it wrong about every fourth step. Keep those walks short. It sorts itself out by the fourth or fifth one, and then you stop thinking about it entirely, which is the actual goal.
Then there is the downhill stretch. On my loop it is the ramp down to the boat launch, maybe two hundred yards, and it is where my right knee used to file its complaint every single morning. I shorten both poles by an inch or two before I start down. That keeps me from leaning forward and putting the load on the front of the knee, and it puts the pole tip on the ground before my foot gets there. I take smaller steps on that stretch as well. Short steps and a pole that lands first, and I get to the bottom without the ache that used to follow me home and sit with me at the kitchen table.
The last piece of advice is the least popular one I can give. Use both poles. One pole feels lighter and looks less like a commitment, but one pole means you are loading one side of your body and swinging the other, and after a mile of that my hip was complaining louder than my knee ever had. Two poles, matched, both set to the same height, both straps fitted. It looks like more effort. It is considerably less.
What Else Helps
The poles are one piece of a morning, not the entire morning. What I wear and use has changed over the past year and a bit. A compression knee sleeve on the right knee for every walk, about fourteen months now, which gives me warmth and a snug feeling rather than any sort of rigid bracing. A soft insole in my walking shoes, trimmed with scissors along the guide line and replaced roughly every six months, because I noticed my knees felt better on the softer trail than on the concrete sidewalk. And on the evenings after a longer walk, cold from the gel packs that live in the kitchen freezer, fifteen or twenty minutes with a thin cloth between the pack and my skin.
What did not help was resting and waiting for it to feel better. I lost most of a year that way, and the first walk back was always worse than the walk I had given up. What also did not help was pushing through a bad morning to hit a number, which is how I ended up at the bench at the second bridge in the first place. If you are where I was, the useful move is to ask your doctor or your physical therapist what is safe for you, and then to make the walk itself easier instead of making it shorter. I am not qualified to tell you anything beyond that, and I am not going to try.
Five Months In, They Come Out of the Hall Closet Most Mornings
24.5 to 54 inches, lever locks you can work with one hand, 9.7 ounces per pole, and a carry bag for the days they stay home. If your knees are deciding how far you walk, this was the simplest part of the fix I found.
Amazon Check Today's Price on Amazon →